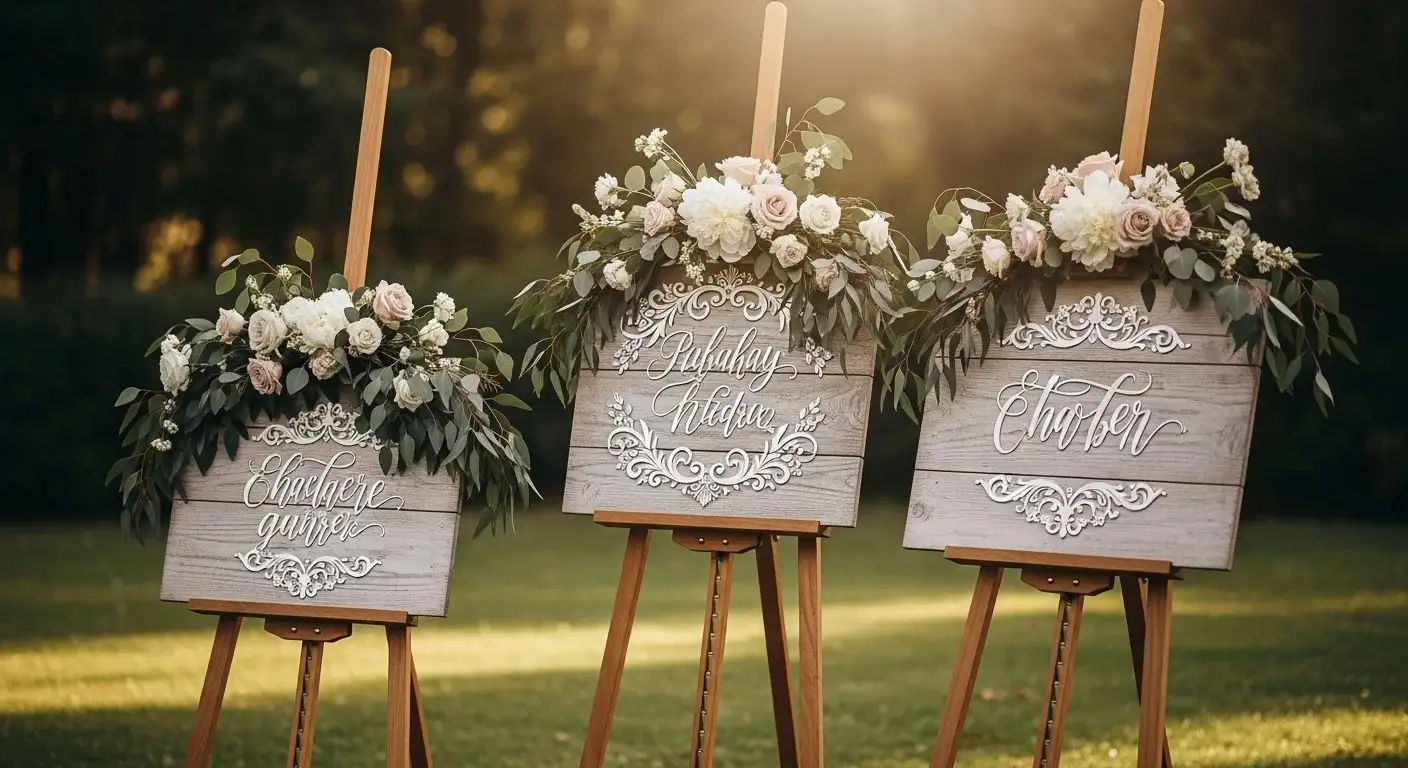
Your wedding signage does more than guide guests—it sets the tone, adds personality, and becomes part of your décor story. From welcome boards to seating charts, the right signage can turn simple details into unforgettable moments. The best part? You don’t need a huge budget to make it special. With a little creativity and DIY effort, your signs can reflect your style while still being practical and beautiful. Below are creative ideas that guests will notice, photograph, and talk about long after the event.
Acrylic Welcome Sign with Pressed Flowers
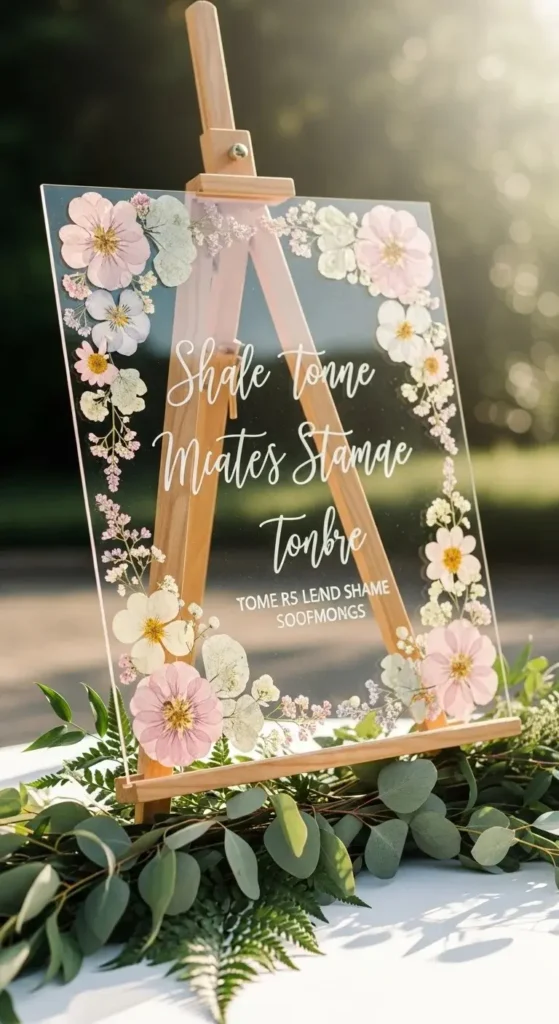
Acrylic signs feel modern yet soft when paired with flowers. You can create this look at home using a clear acrylic sheet from a local store.
Press dried flowers between books for a week. Then arrange them around the edges.
Use glue dots or clear adhesive to fix them in place.
Keep the center minimal for a clean look.
For a budget version, use a transparent plastic sheet instead of acrylic.
Place the sign near your entrance with a wooden stand or lean it against a crate.
This works beautifully for outdoor weddings.
It also doubles as a keepsake you can hang at home later.
Rustic Wooden Pallet Direction Board
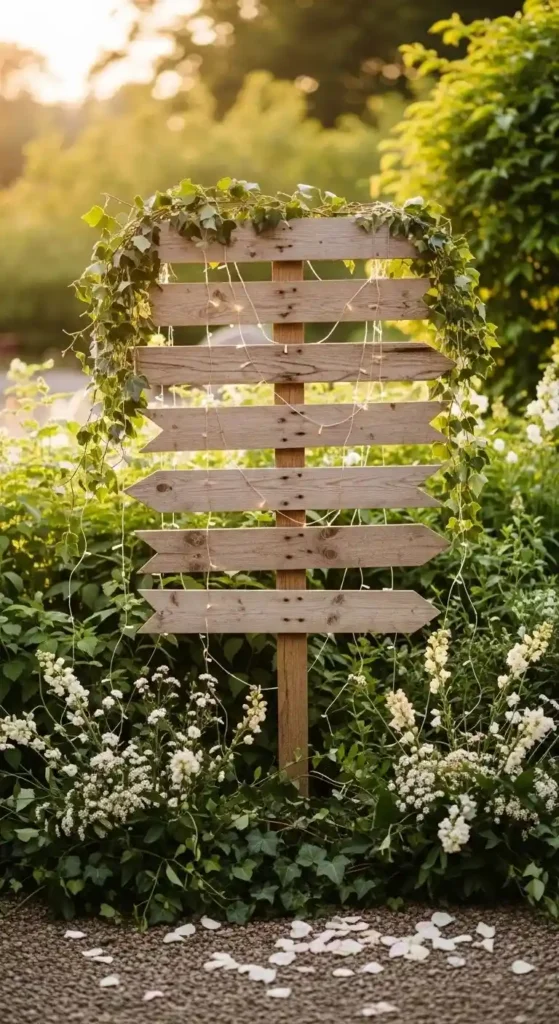
A wooden pallet gives a cozy, laid-back vibe. It’s perfect for outdoor or farmhouse weddings.
You can find old pallets for cheap or even free.
Sand them lightly to avoid splinters.
Attach wooden arrows pointing to areas like ceremony, food, and photo booth.
Paint the arrows in soft white or pastel shades.
If you want a quick option, use chalk markers instead of paint.
Add fairy lights or greenery for extra charm.
This is a fun DIY project you can complete in a day.
Mirror Welcome Sign with Vintage Frame
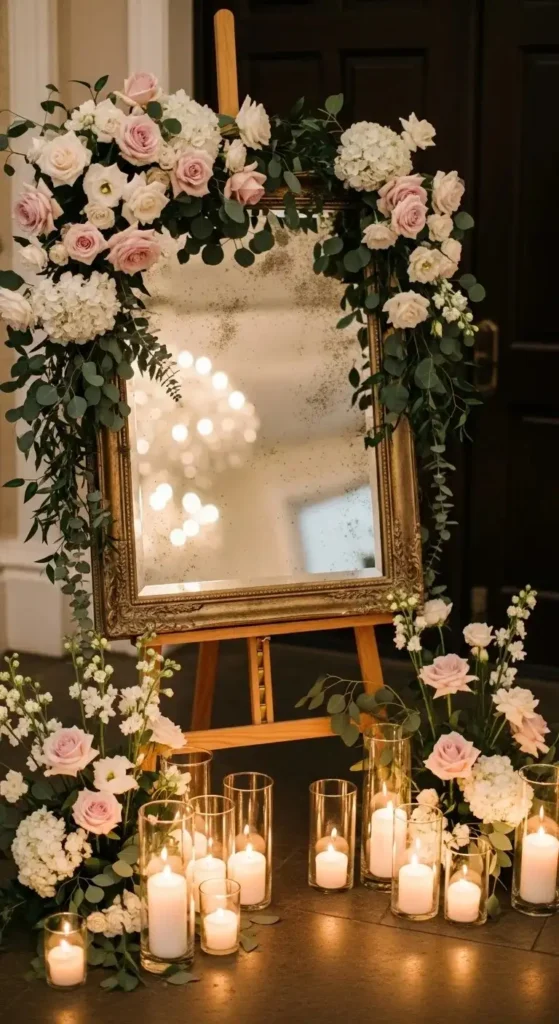
A mirror sign feels elegant and timeless. It reflects light beautifully and adds depth.
Look for second-hand mirrors at thrift shops.
Clean the surface and use a paint marker for writing.
Choose gold or black ink for contrast.
You can skip handwriting by using vinyl stickers.
Place it on an easel at the entrance.
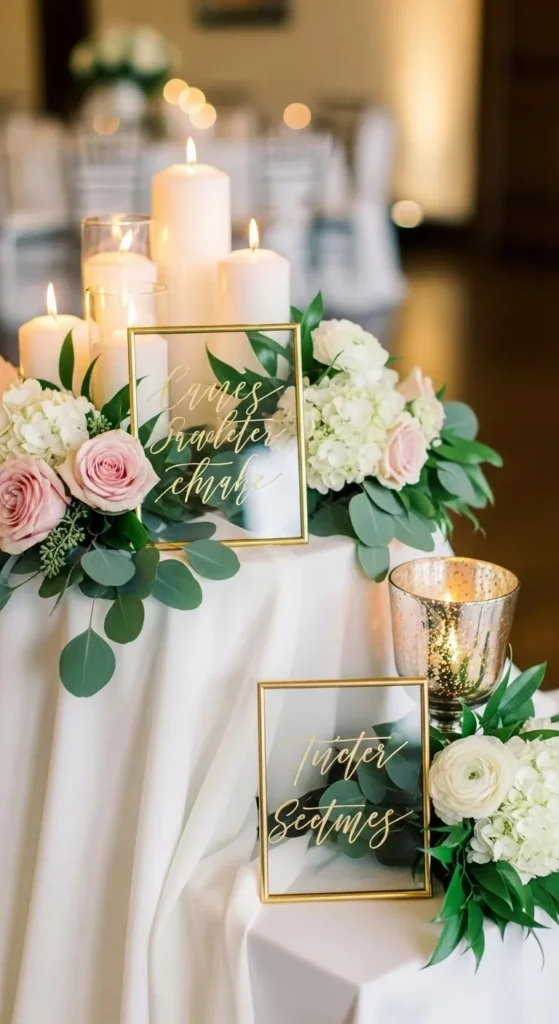
Add candles or flowers around it for a soft glow.
This idea works well for indoor venues or evening weddings.
Chalkboard Menu Display
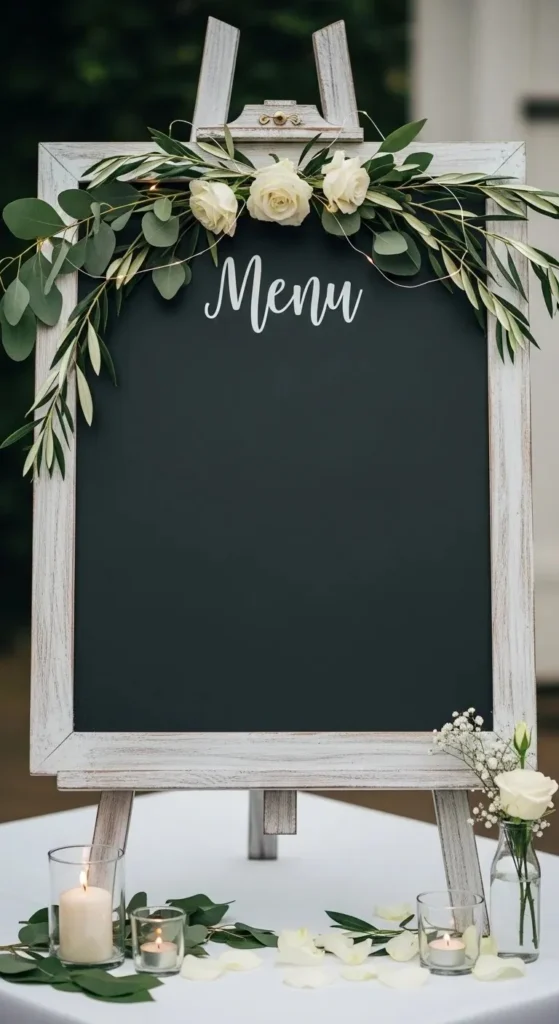
Chalkboards are simple and affordable. They fit almost any theme.
Buy a medium-sized board or repurpose an old one.
Use white or colored chalk markers for a clean finish.
Divide the board into sections for starters, main, and desserts.
Keep spacing neat so it’s easy to read.
If you’re not confident in your handwriting, print a guide and trace it lightly.
Frame the board with greenery or small flowers.
Guests love knowing what’s coming next.
Neon Sign for Reception Backdrop
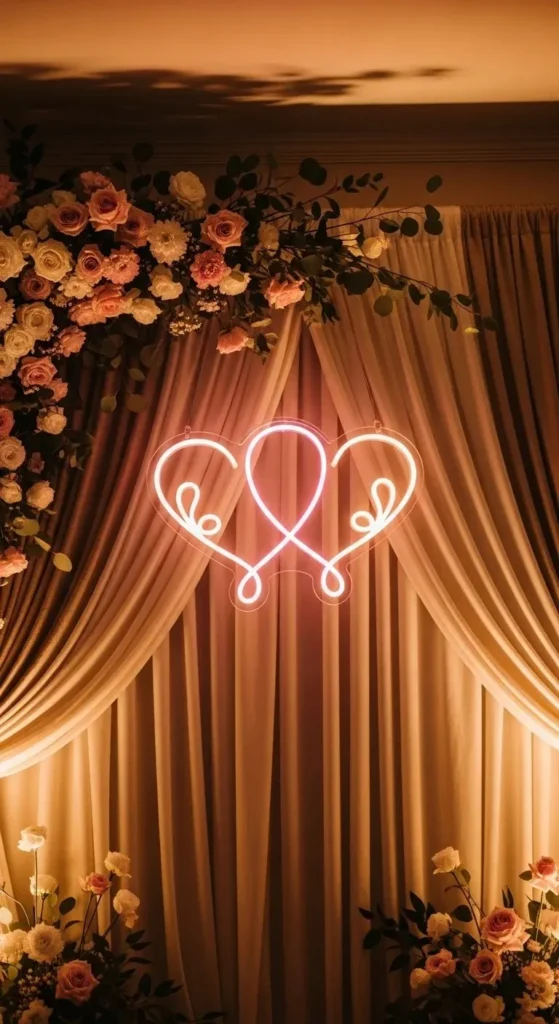
Neon signs bring a fun, modern feel. They stand out in photos.
Instead of renting, try LED neon alternatives.
They are cheaper and reusable.
Mount it behind the sweetheart table or dance floor.
Choose a shape like a heart or initials.
Secure it with clear hooks or wire.
Dim surrounding lights slightly to make it pop.
This is perfect for evening receptions.
Minimalist Paper Seating Chart

Keep it simple with paper cards. This is budget-friendly and clean.
Use thick cardstock for a polished feel.
Clip each card to a board or hang with string.
Group by table numbers.
You can print at home to save money.
Use neutral colors for a timeless look.
Add a small floral touch for detail.
It’s easy to assemble and update if needed.
Hanging Escort Cards with String Lights
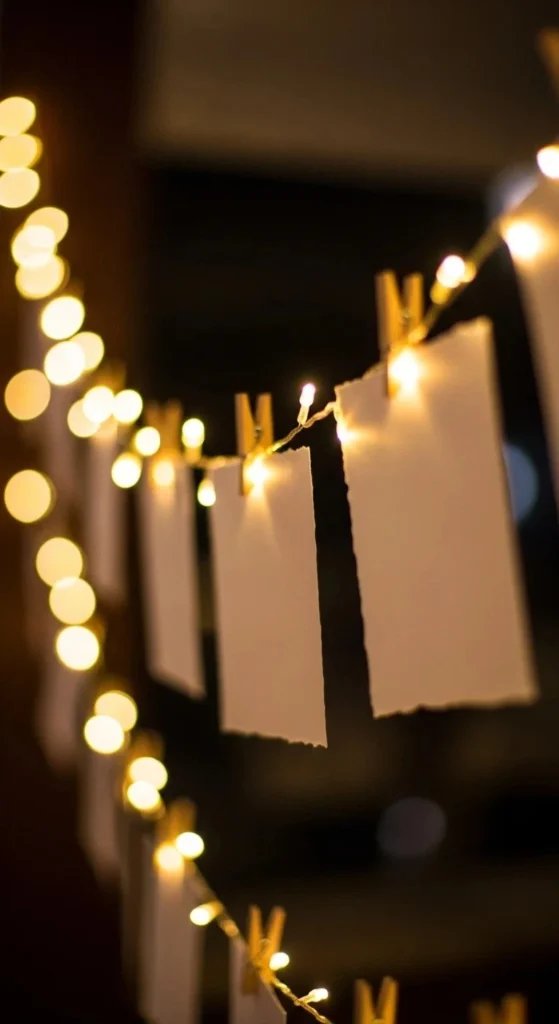
This setup feels magical at night. It doubles as décor.
Hang fairy lights on a frame or wall.
Attach escort cards with mini clips.
Keep cards lightweight.
Use kraft paper for a rustic feel or white for classic.
Place it where guests naturally gather.
The warm glow makes it photo-worthy.
Window Pane Seating Chart
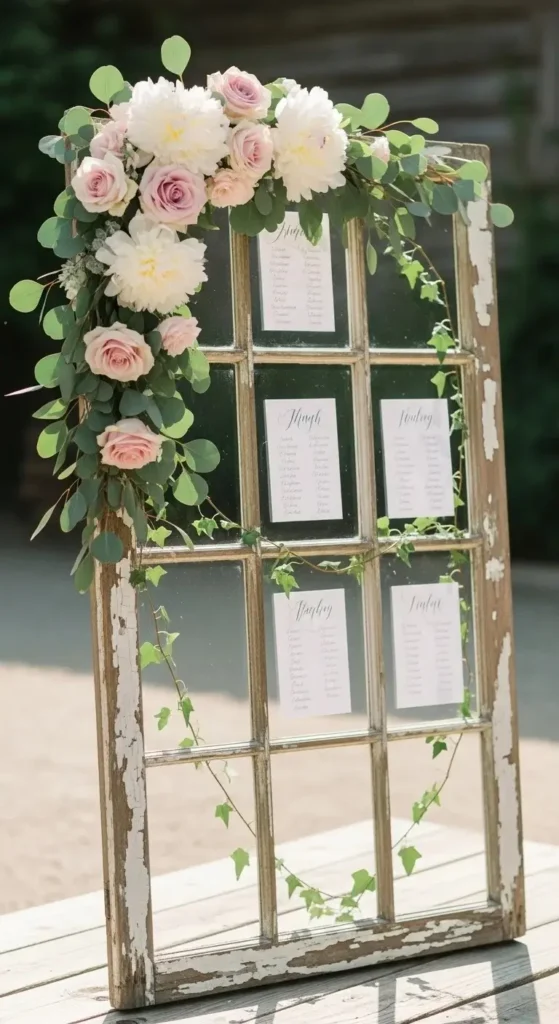
Old window frames create a vintage feel. They are easy to style.
Remove any broken glass or clean it well.
Write directly on the glass using markers.
Divide sections using tape as a guide.
You can find frames at flea markets.
Decorate with greenery around the edges.
Lean it against a wall or place on a stand.
Handwritten Love Story Timeline
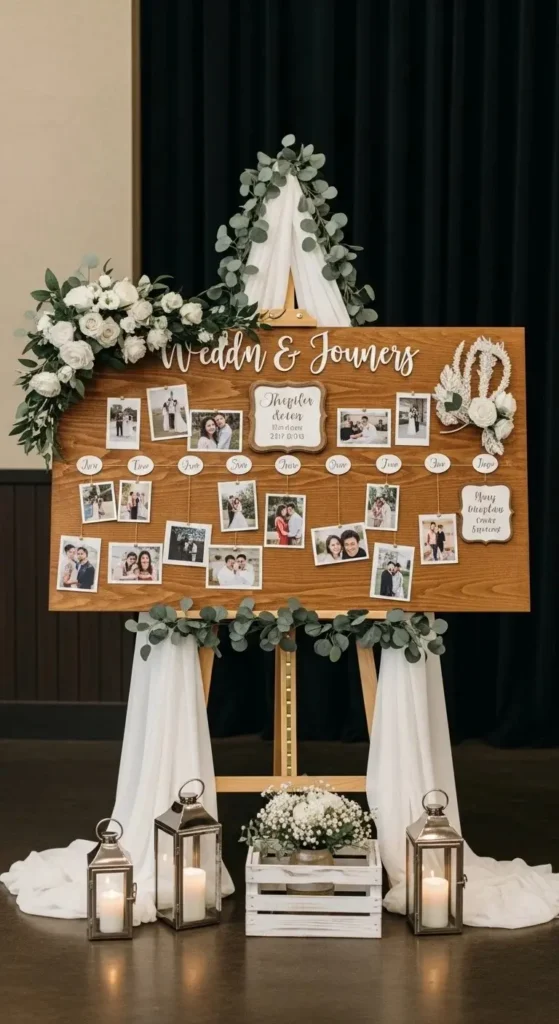
Share your journey through a timeline. Guests enjoy personal touches.
Use a long board or poster.
Add printed photos and short captions.
Arrange them in order from first meeting to engagement.
Use string lights or clips for display.
You can handwrite for a personal feel.
This works well near the reception area.
Polaroid Photo Guest Sign
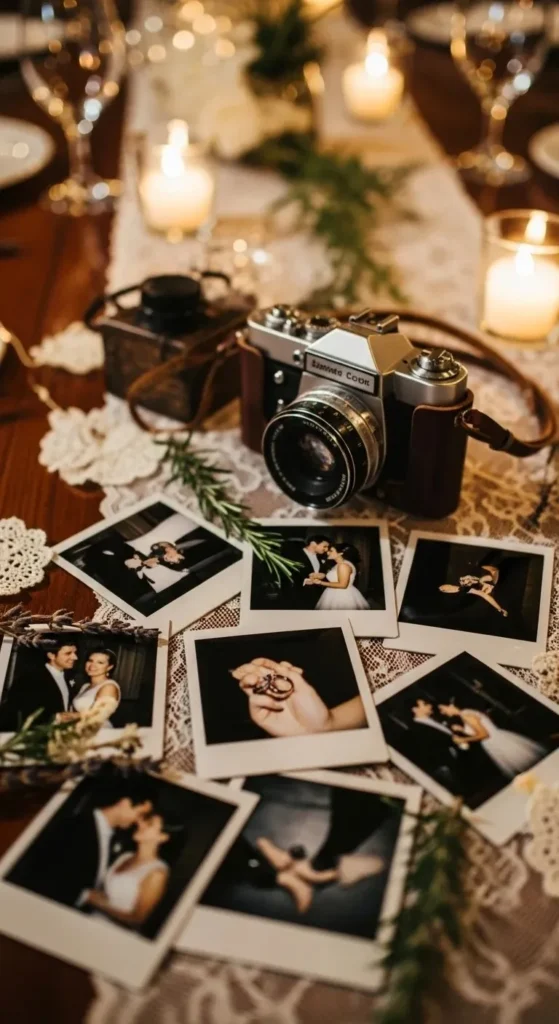
Encourage guests to take photos and leave memories.
Set up a small table with a camera.
Add a sign with simple instructions.
Use a scrapbook for guests to paste photos.
Include pens and tape.
This becomes a fun activity and keepsake.
Acrylic Bar Menu with Gold Accents
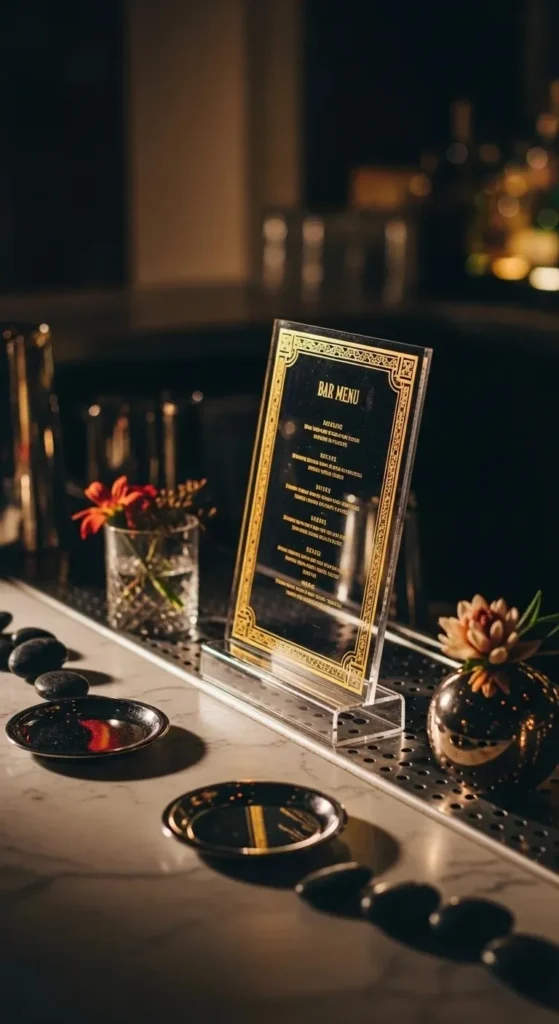
Keep your bar stylish with acrylic signs.
Use gold paint for borders.
Write menu items neatly.
You can print and stick from behind.
Place it in a small frame or stand.
This adds a modern touch without spending much.
Fabric Banner Welcome Sign
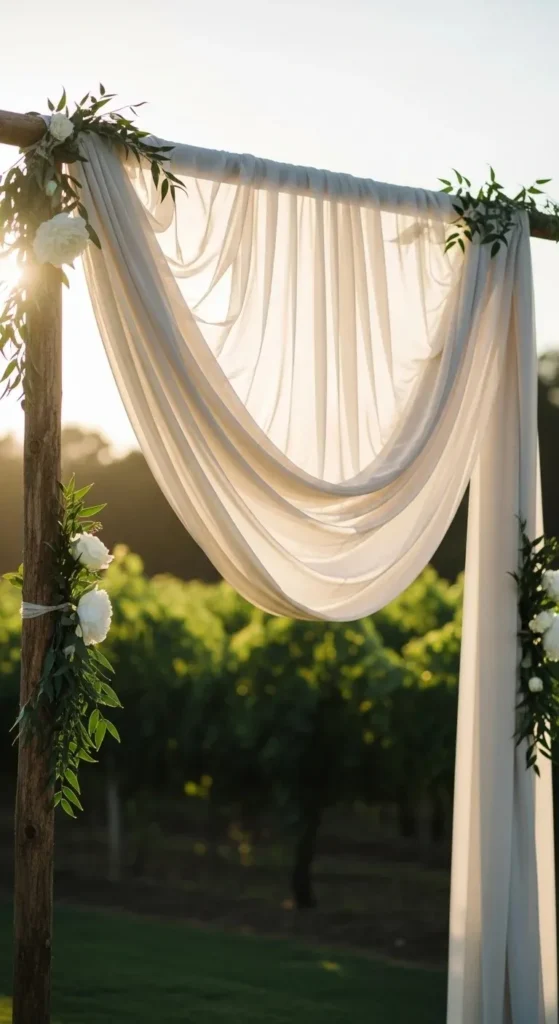
Fabric signs feel soft and romantic.
Use cotton or linen cloth.
Paint or print your design.
Hang it between poles or trees.
Edges can be left raw for a natural look.
This works well for outdoor weddings.
Vintage Suitcase Sign Stack
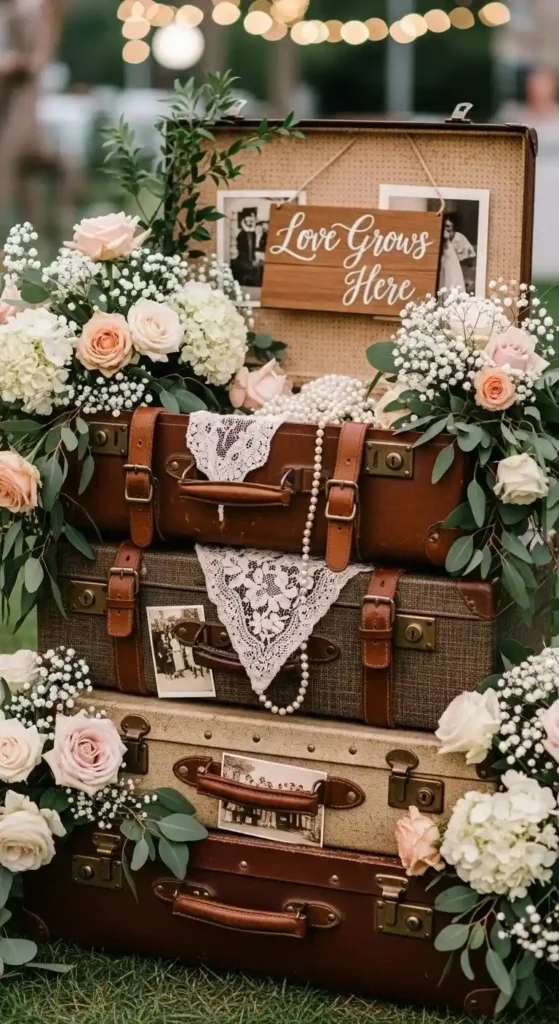
Stack old suitcases for a travel theme.
Place signs on or around them.
Add small props like maps or tags.
You can borrow suitcases from family.
This setup adds character and charm.
Wooden Crate Welcome Display
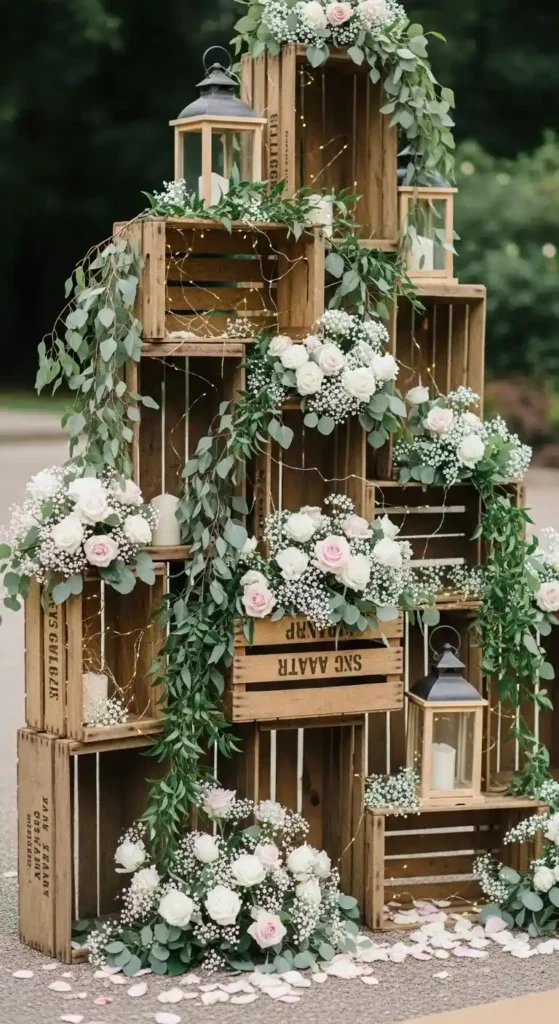
Wooden crates are easy to style.
Stack them in layers.
Place signs, candles, or flowers inside.
You can paint or leave them raw.
They are cheap and reusable.
Floral Hoop Sign
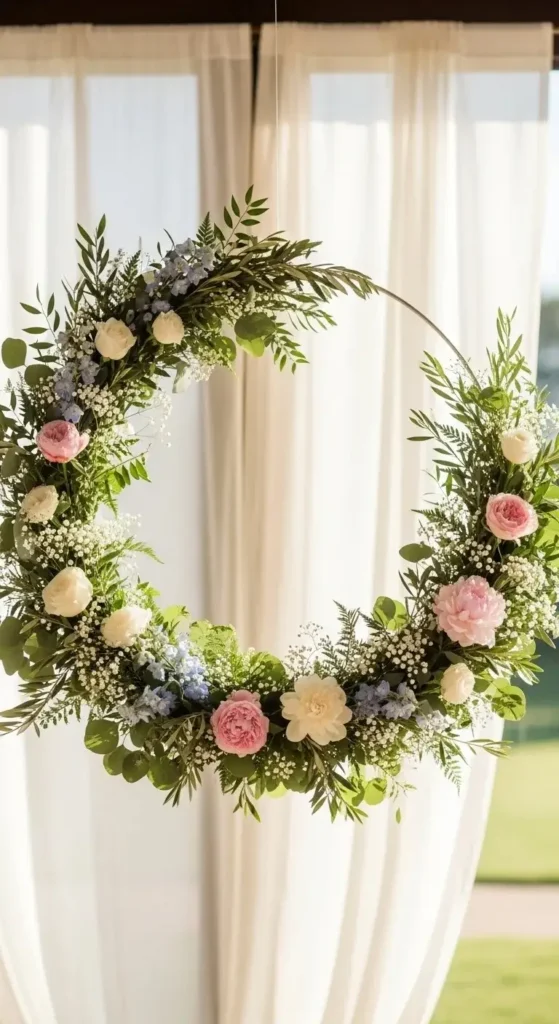
Hoops look modern and elegant.
Use a metal or wooden ring.
Attach greenery and flowers.
Hang it or place on a stand.
Keep the center open for a clean look.
Blackboard Drink Station Sign
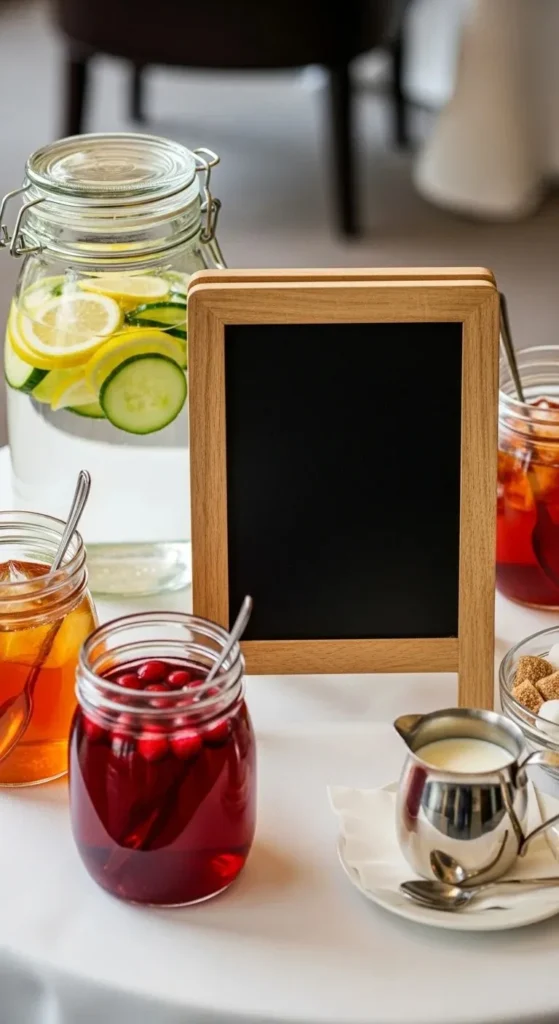
Guide guests with simple drink signs.
Use a small board.
Keep it short and clear.
Decorate with jars or lemons.
It’s quick and effective.
Hanging Wooden Slice Signs
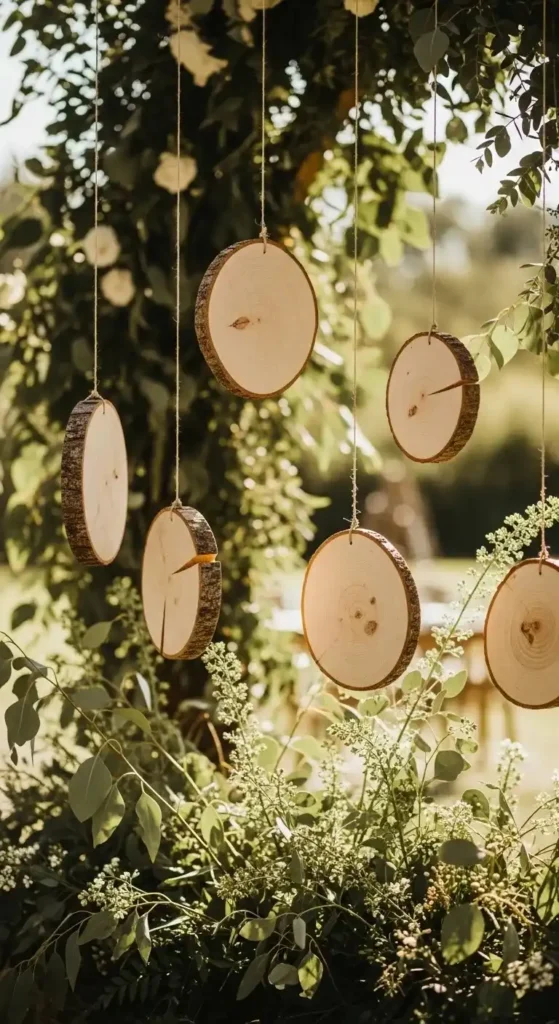
Wood slices bring a natural feel.
Write on them with paint or markers.
Hang using twine.
Space them evenly.
They work well outdoors.
Photo Booth Instruction Sign
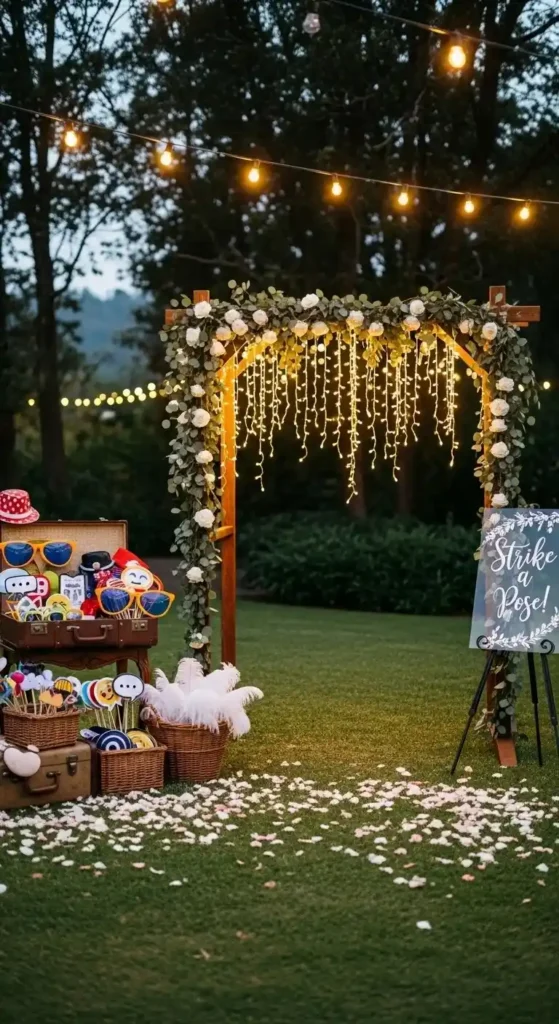
Make your booth easy to use.
Create a simple sign with steps.
Keep instructions short.
Add arrows or icons.
Place it near props.
Direction Arrows on Ground Stakes
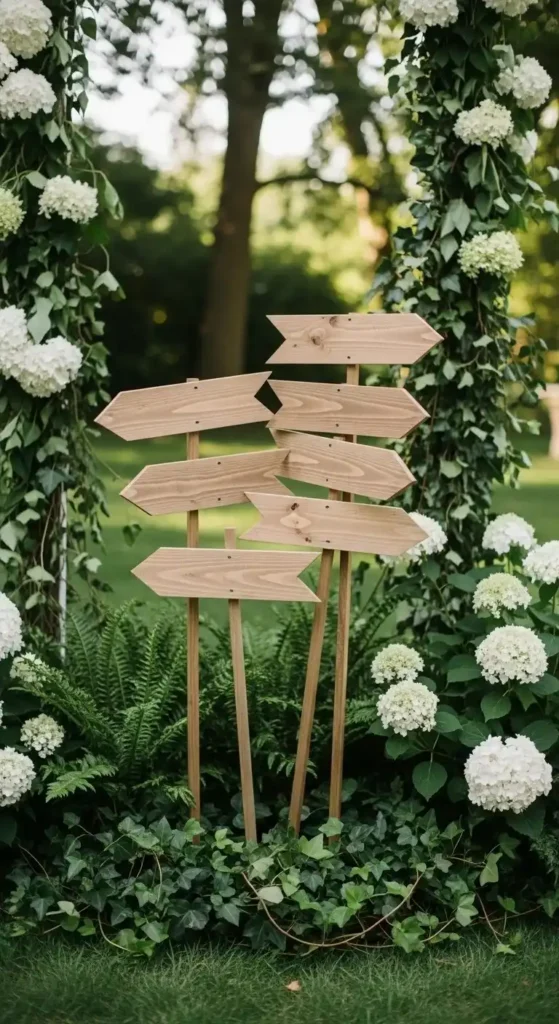
Guide guests outdoors with arrows.
Use wood or foam boards.
Paint in bold colors.
Stick them into the ground.
Space them along pathways.
Framed Quote Signs Around Venue
Add small framed pieces around your venue.
Use meaningful quotes or phrases.
Mix different frame styles.
Place them on tables or corners.
This fills empty spaces nicely.
Conclusion
Wedding signage is more than directions—it’s part of your story. Each sign adds personality and helps guests feel connected to your day. You don’t need expensive materials to make something beautiful. Simple DIY ideas, thoughtful placement, and a bit of creativity go a long way. Pick a few styles that match your theme, mix textures, and reuse items where possible. Your guests will notice the details, and you’ll create a setting that feels warm, personal, and memorable.