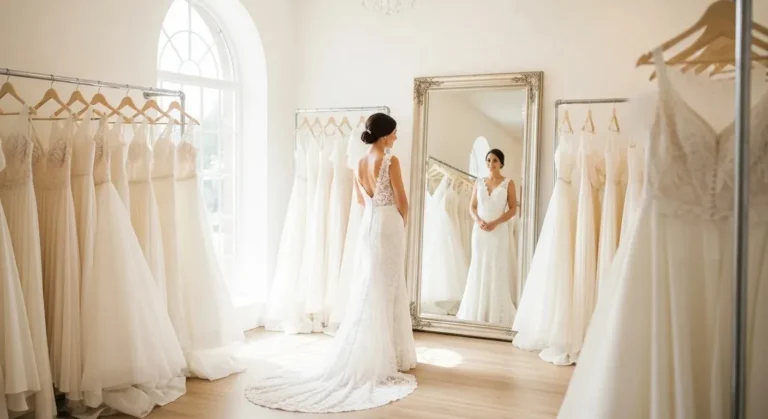
Planning a wedding can feel overwhelming, especially when every detail seems to come with endless inspiration boards and rising costs. I remember feeling excited about finding my dream gown, only to realize that the perfect dress still didn’t fit perfectly. That’s when I discovered how important Wedding Dress Alteration Tips really are. The right adjustments can transform a beautiful dress into something that truly feels made for you, without spending a fortune on a custom design.
It’s easy to feel confused about where to start. Questions about timing, cost, and what changes are actually worth making can quickly pile up. I also worried about staying within budget while still creating a unique look that reflected my personal style. With so many ideas online, it became hard to know which suggestions were practical and which ones would actually work in real life.
Through research, fittings, and a bit of trial and error, I learned that small, smart changes can make a huge difference. These Wedding Dress Alterations tips focus on simple, affordable ways to refine the fit and feel confident walking down the aisle.
Start Alterations Early for Better Results
Begin alterations at least two to three months before the wedding. Early scheduling gives time for multiple fittings. It also allows corrections if weight changes or design adjustments occur.
Waiting too long limits options. Tailors may rush. Mistakes become harder to fix. Early planning reduces stress and keeps the process organized.
Budget-friendly option: schedule weekday fittings. Many seamstresses charge less during slower periods. Keep all receipts and notes in one folder to track costs.
DIY idea: take your own measurements at home first. Compare them with tailor measurements. This helps avoid confusion later.
Starting early also gives space to try small styling upgrades. You may decide to add sleeves or adjust the neckline. Those changes require extra time.
The earlier you begin, the more control you keep over the final look.
Choose the Right Undergarments First

Undergarments change how a dress sits on the body. A strapless bra, shapewear, or seamless underwear can adjust the silhouette.
Bring these items to every fitting. A different bra can alter bust fit by several centimeters. That difference affects seams and support.
Affordable tip: purchase neutral shapewear that can be reused after the wedding. Choose breathable fabric for comfort during long ceremonies.
DIY option: test undergarments at home by wearing the dress sample for one hour. Sit, walk, and move. Notice any shifting or discomfort.
Avoid lace or textured undergarments. They can show through thin fabrics.
The right foundation creates smoother lines and reduces alteration costs later.
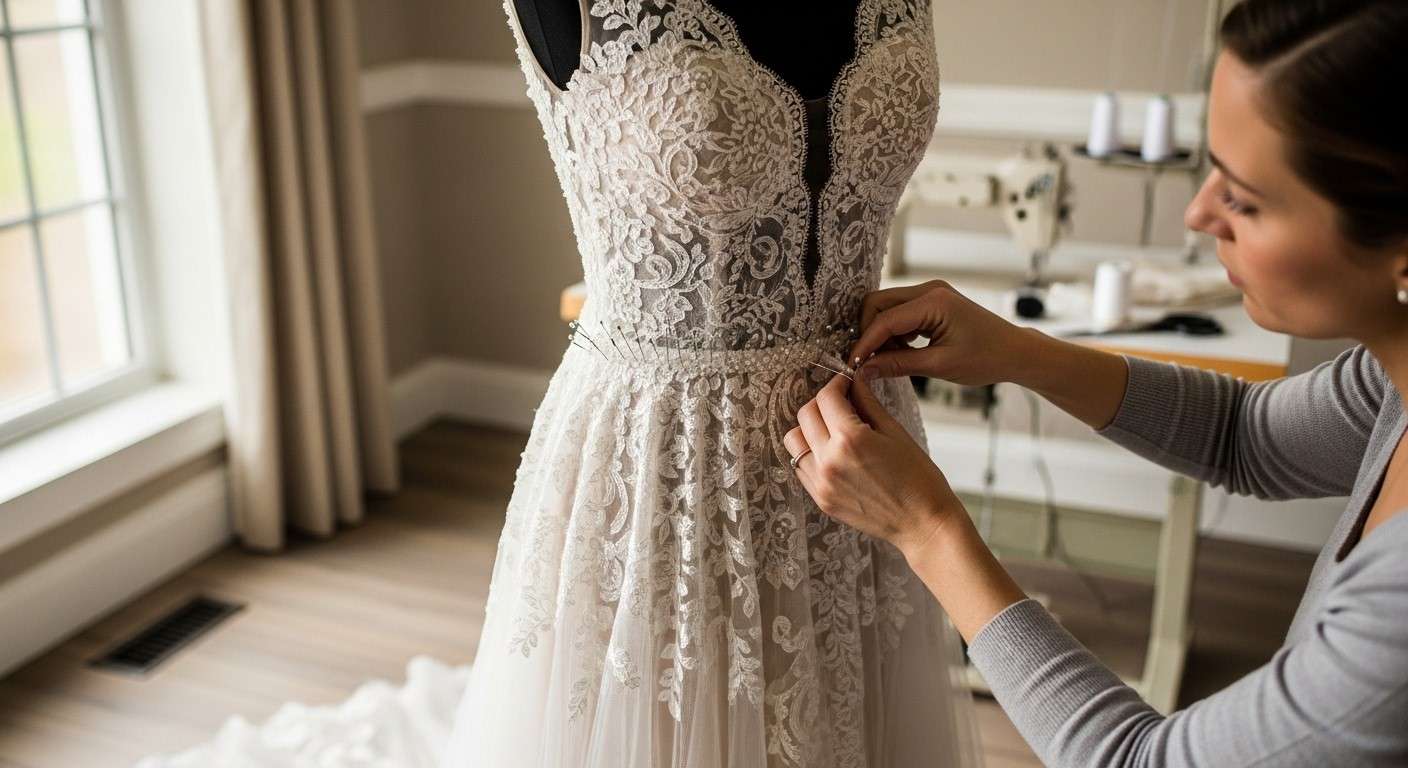
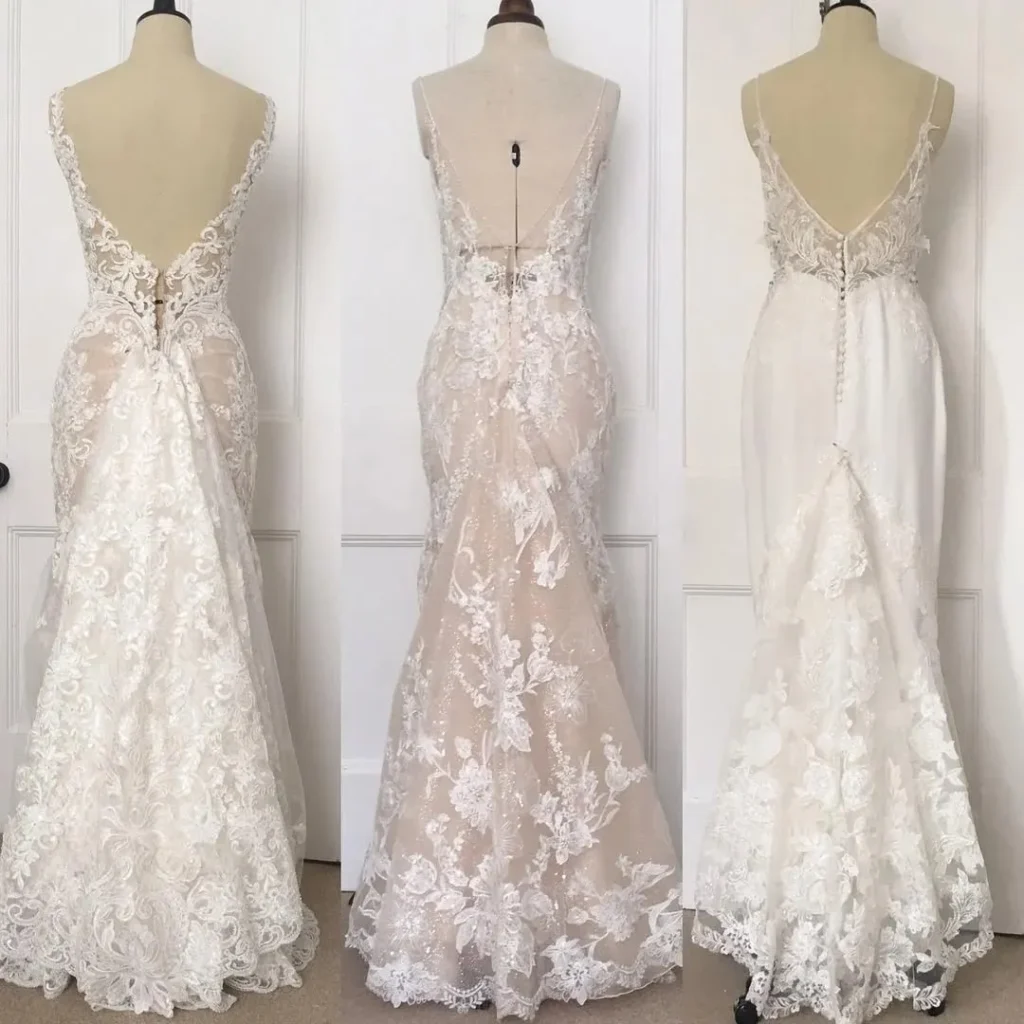
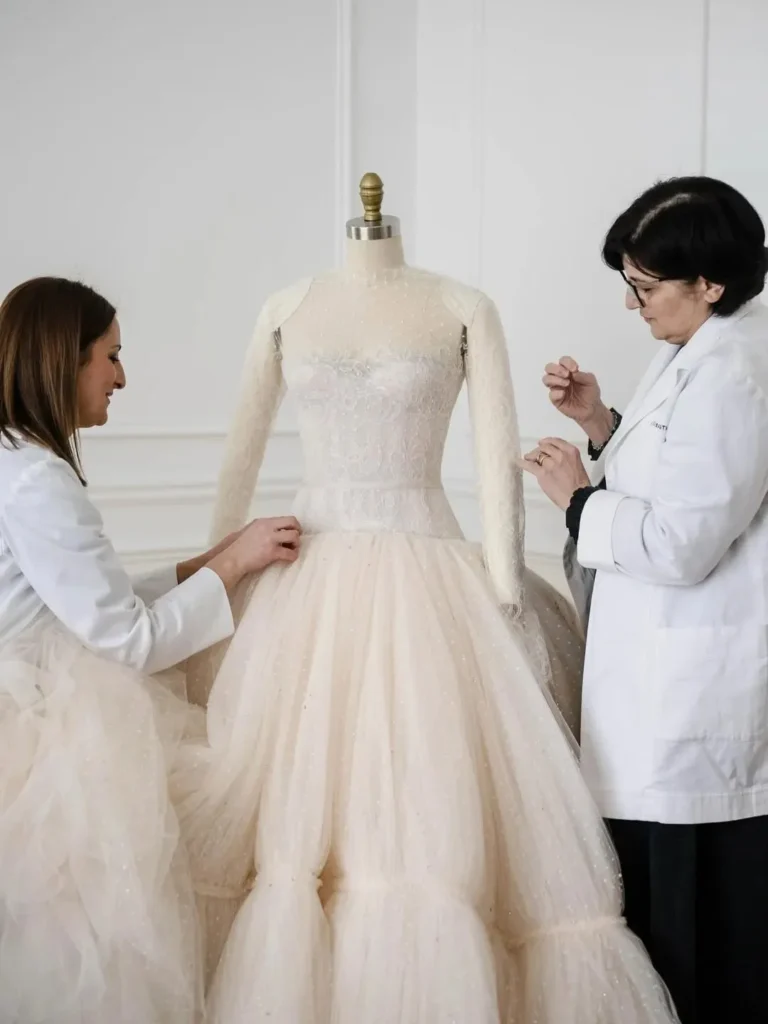
Tailor the Bust for Comfort and Support

A well-fitted bust area improves posture and comfort. Loose fabric may slip or wrinkle. Too tight can restrict breathing.
Ask the tailor about built-in cups. They provide shape without needing extra bras. Cups are often inexpensive to add.
For small adjustments, consider removable padding. This helps balance uneven sides without major sewing work.
DIY idea: temporary fashion tape can hold fabric in place during fittings. This helps you see how adjustments may look before permanent stitching.
Comfort matters. You will wear the dress for many hours. Support prevents constant adjusting throughout the event.
A well-shaped bust area keeps the dress stable and elegant in photos.
Adjust the Hem Based on Your Shoes
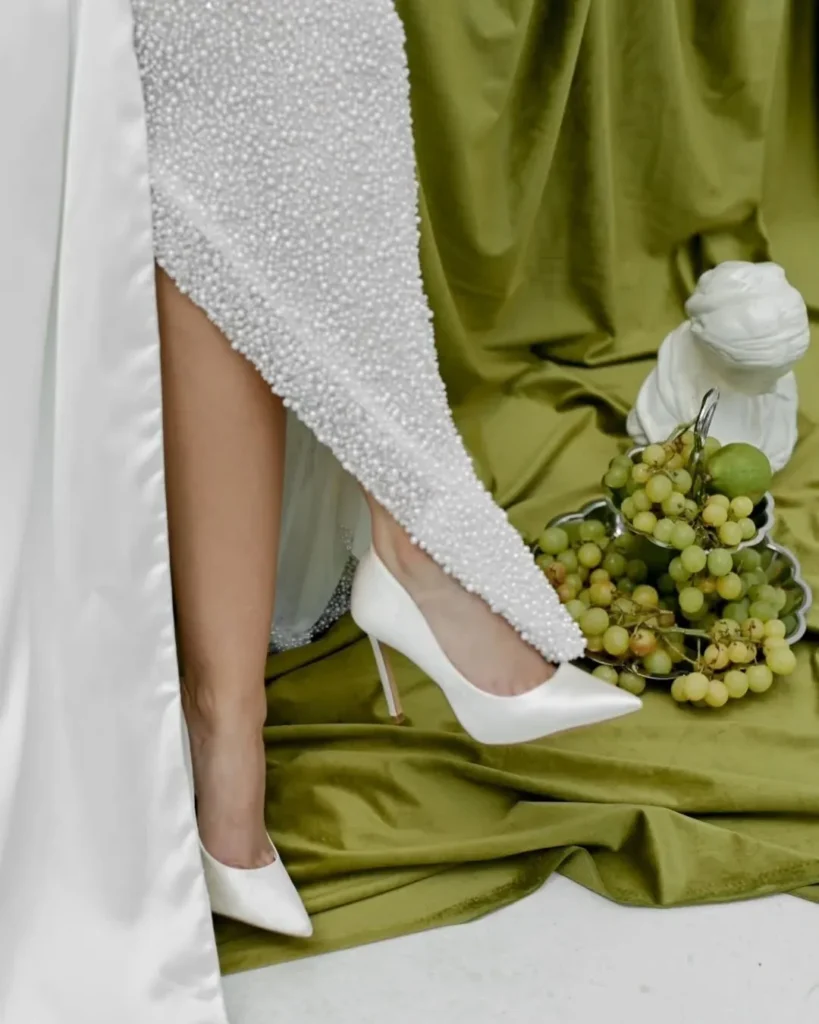
Bring your wedding shoes to the fitting appointment. Heel height changes dress length significantly.
Walking in the dress helps determine the best hem length. The gown should lightly touch the floor without dragging excessively.
Budget tip: choose shoes early to avoid paying for re-hemming later.
DIY option: practice walking on different surfaces at home. Carpet and tile affect how fabric moves.
Consider bustle placement when adjusting length. Both alterations work together.
Proper hem length reduces risk of tripping. It also keeps the fabric clean throughout the day.
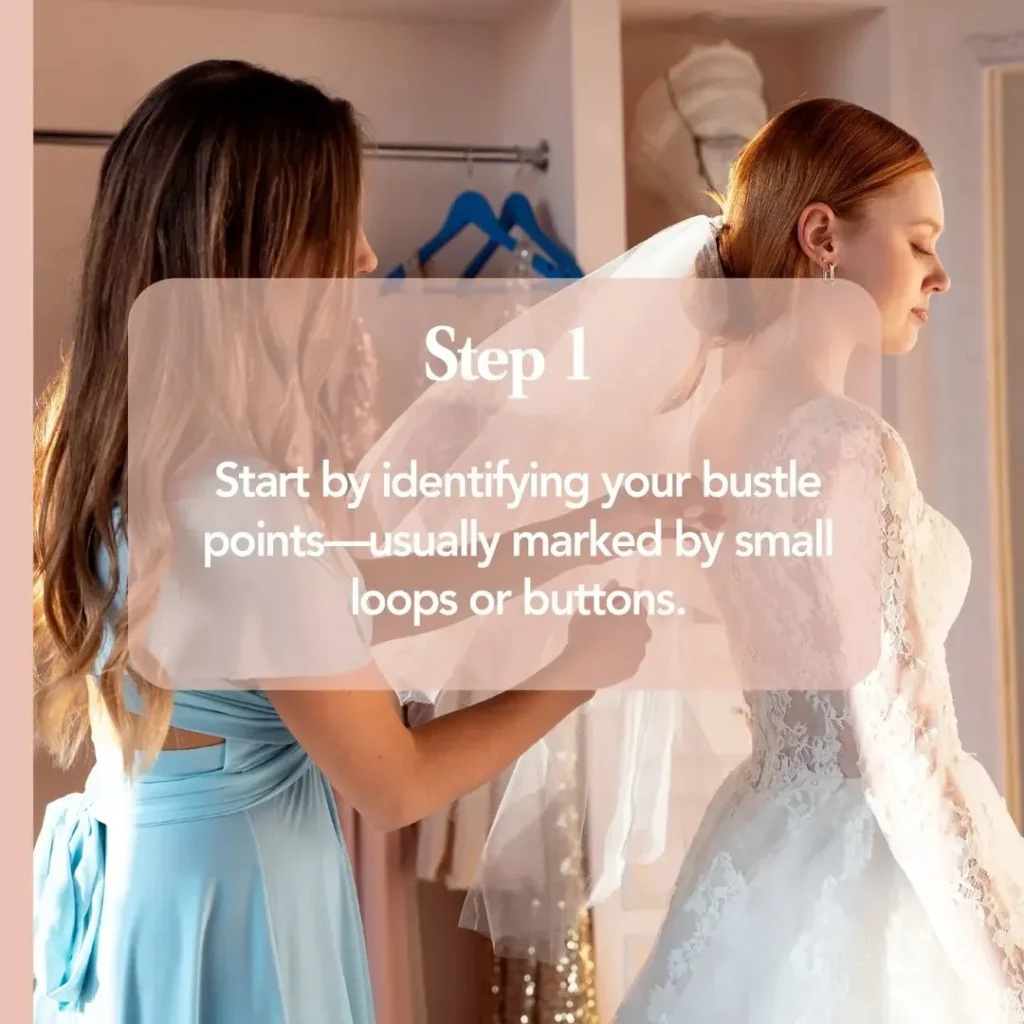
Add a Bustle for Easy Movement
Bustles lift the train off the floor during the reception. This allows easier walking and dancing.
There are several bustle styles. French bustle creates a hidden look. American bustle uses visible loops.
Budget tip: choose a simple bustle style. Complex versions require more labor.
DIY idea: practice fastening the bustle before the wedding day. Ask a friend to learn the process too.
A bustle prevents fabric damage and helps keep movement comfortable.
Simple alterations can greatly improve practicality during the celebration.
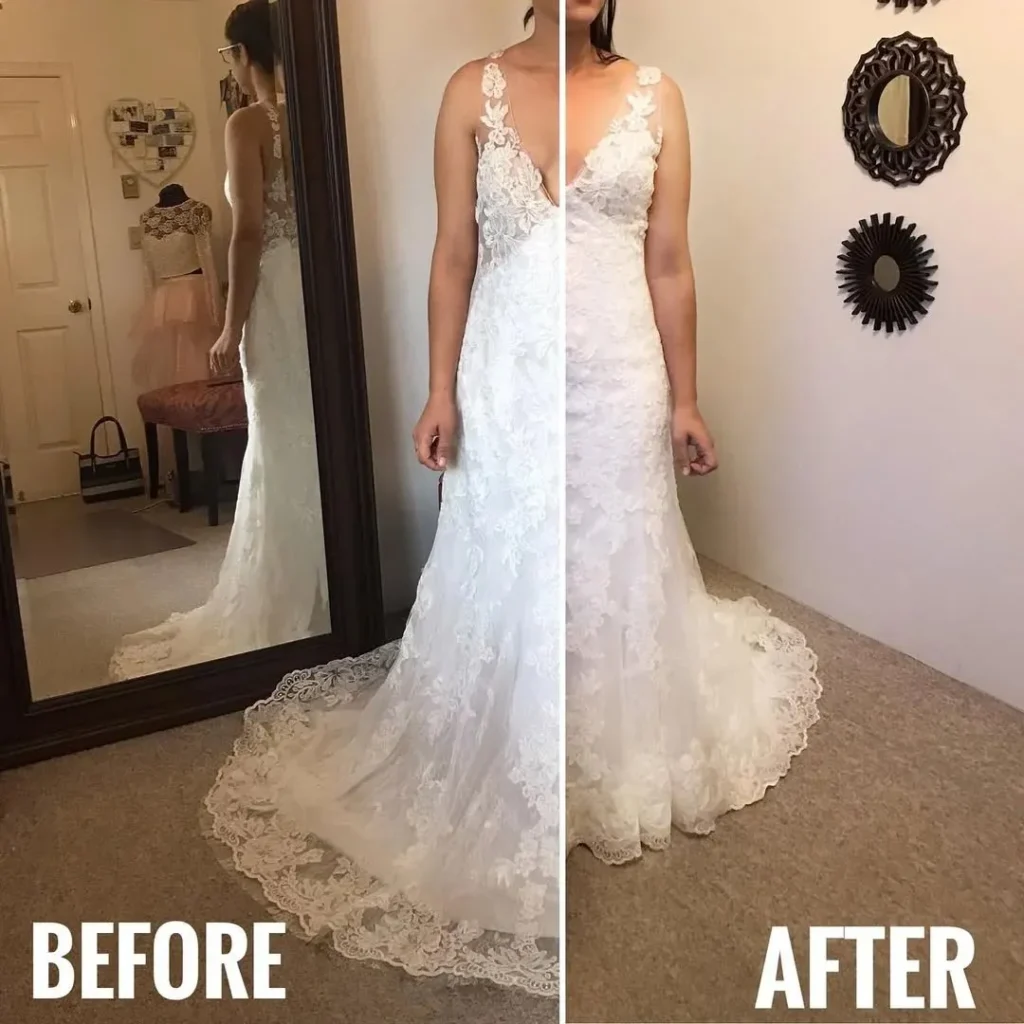
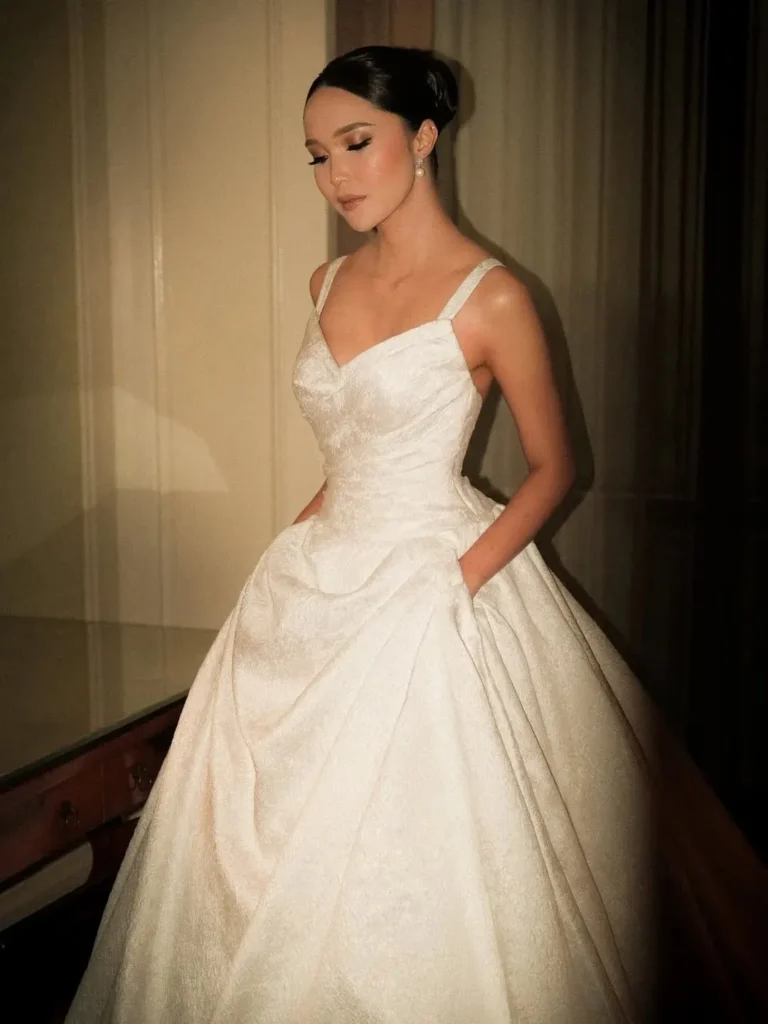
Slim the Waist for a Custom Look
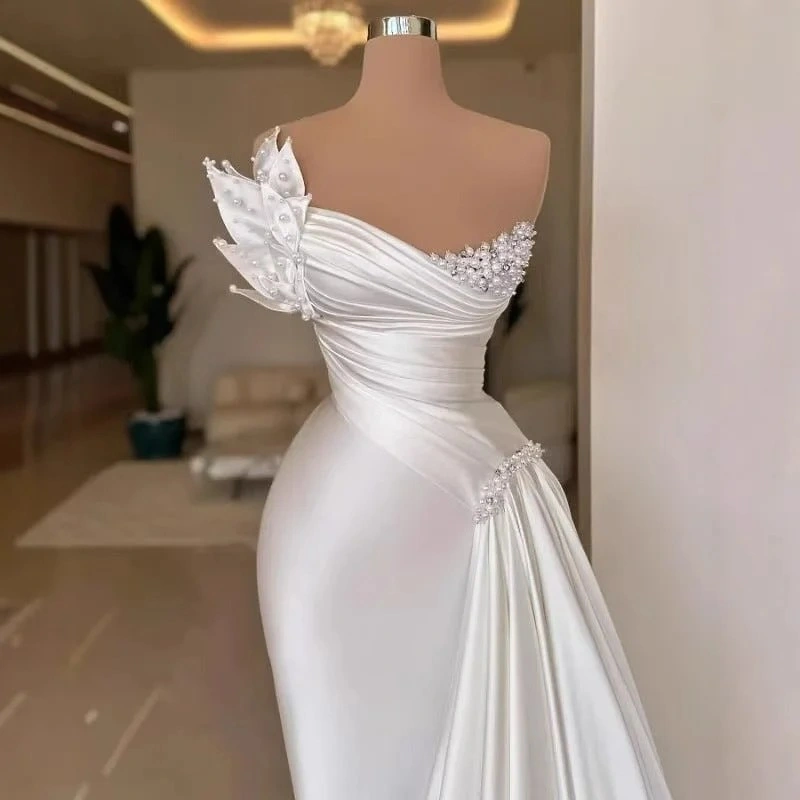
Taking in the waist creates a more tailored silhouette. Even small adjustments improve overall shape.
Avoid tightening too much. Sitting and breathing should remain comfortable.
Affordable tip: minor waist adjustments usually cost less than major structural changes.
DIY idea: use temporary clips at home to visualize how much fabric should be removed.
Balanced shaping improves posture and confidence.
A well-fitted waist highlights the natural body shape without discomfort.
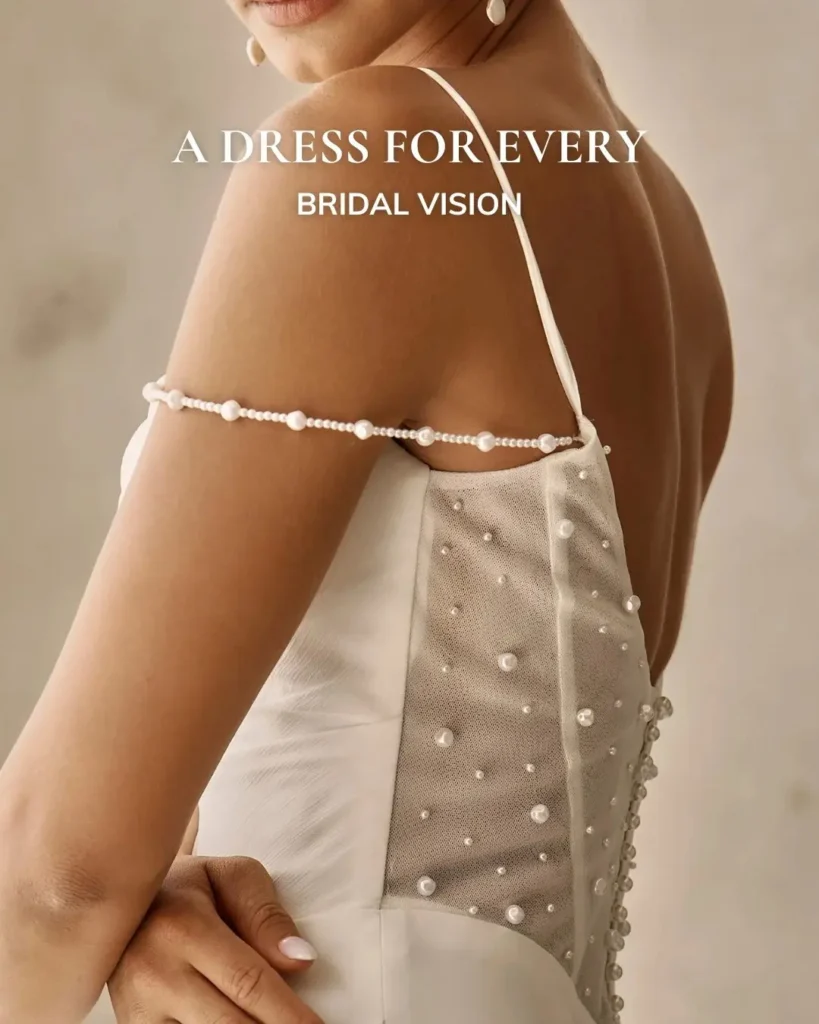
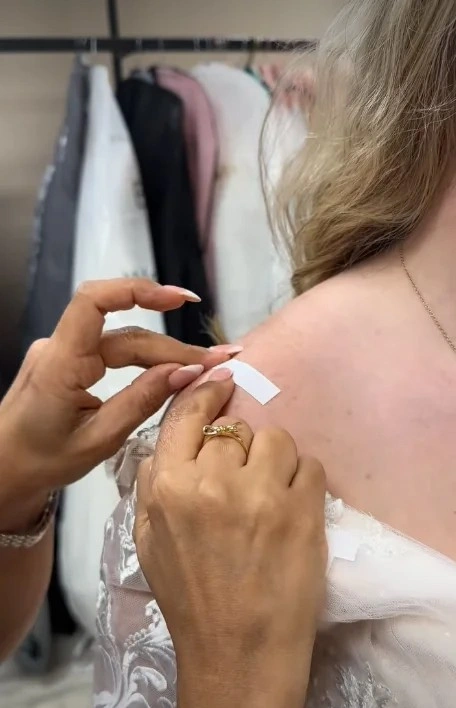
Shorten Straps for Better Lift
Loose straps cause the bodice to shift. Shortening them improves support and keeps the neckline stable.
This alteration is usually simple and affordable.
DIY tip: pin straps temporarily while standing naturally. Avoid adjusting posture artificially.
Balanced strap length prevents slipping during movement.
Small changes often produce noticeable improvement in comfort.
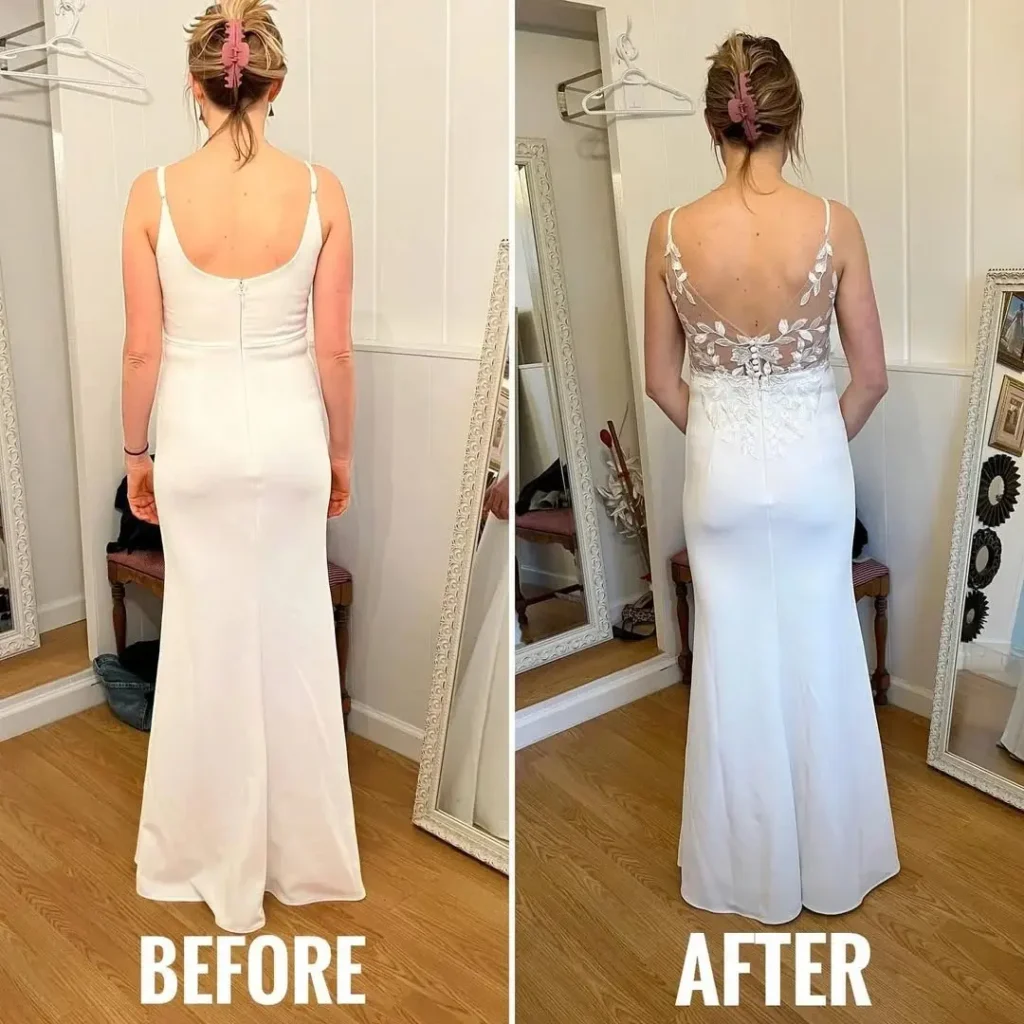
Add Sleeves Without Replacing the Dress
Sleeves can be added using matching lace or chiffon fabric. This creates a modest or elegant look.
Detachable sleeves offer flexibility. They can be removed after the ceremony.
Budget tip: use fabric from hemming scraps.
DIY option: temporary sleeve attachments with snaps.
Sleeves also provide extra comfort in cooler weather.
This simple change transforms the dress style affordably.
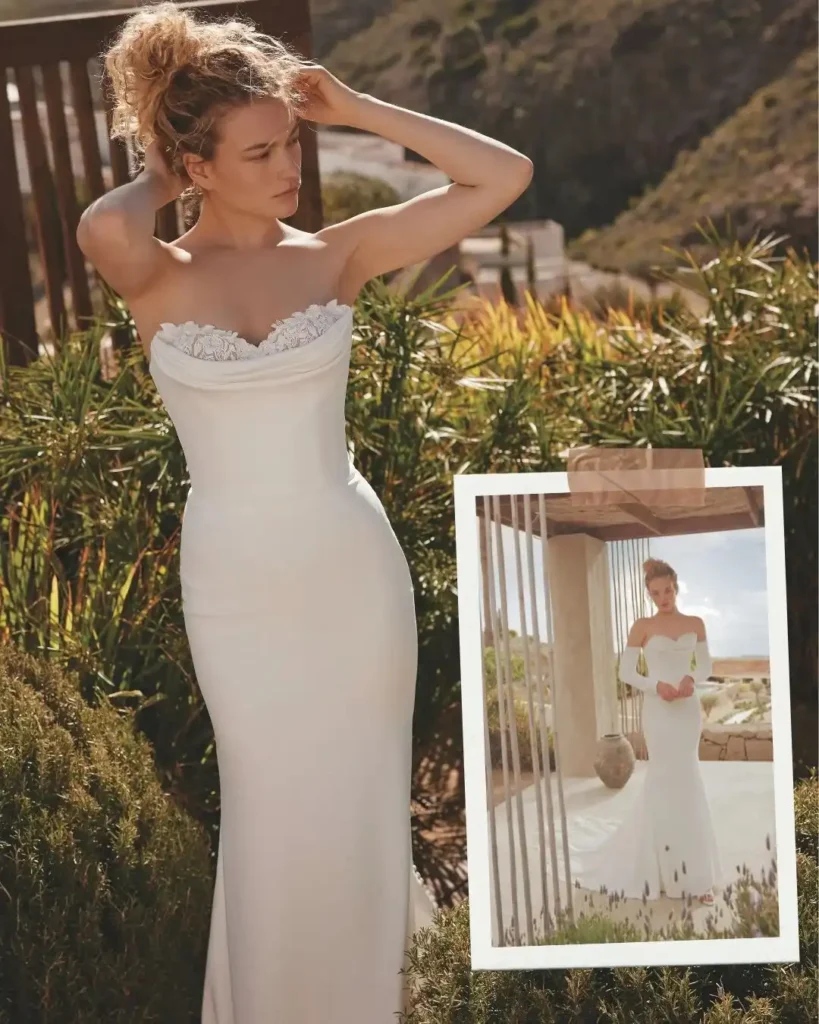
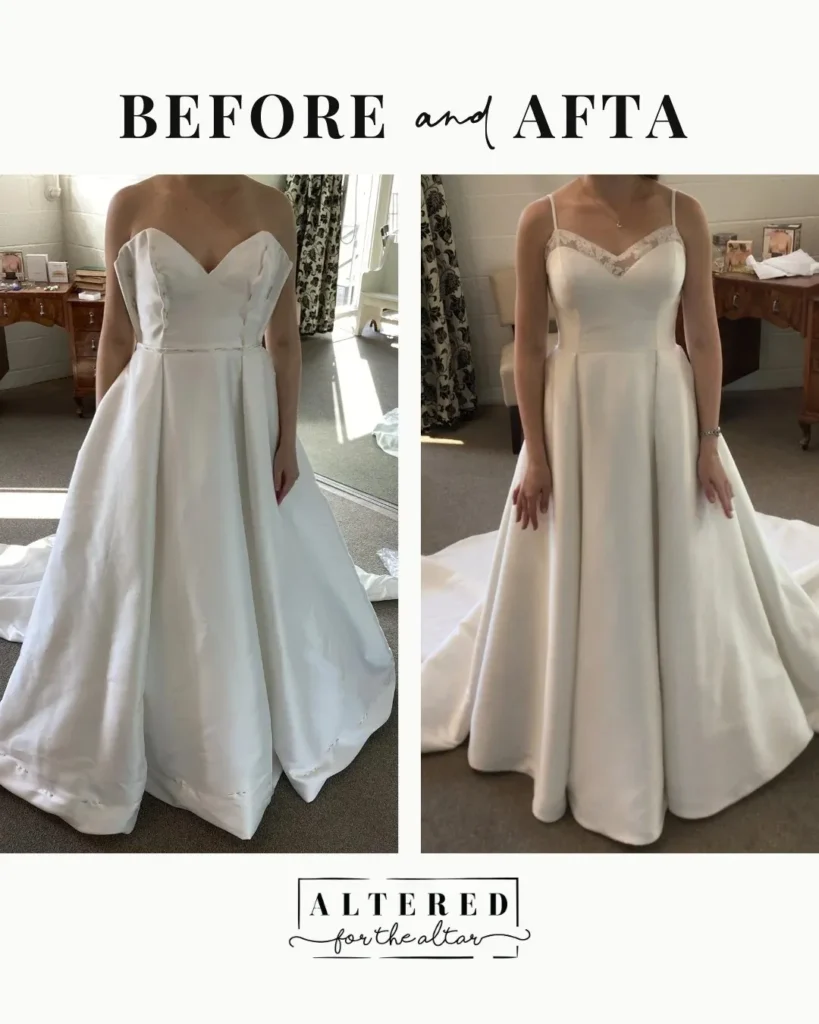
Adjust the Neckline for Personal Style
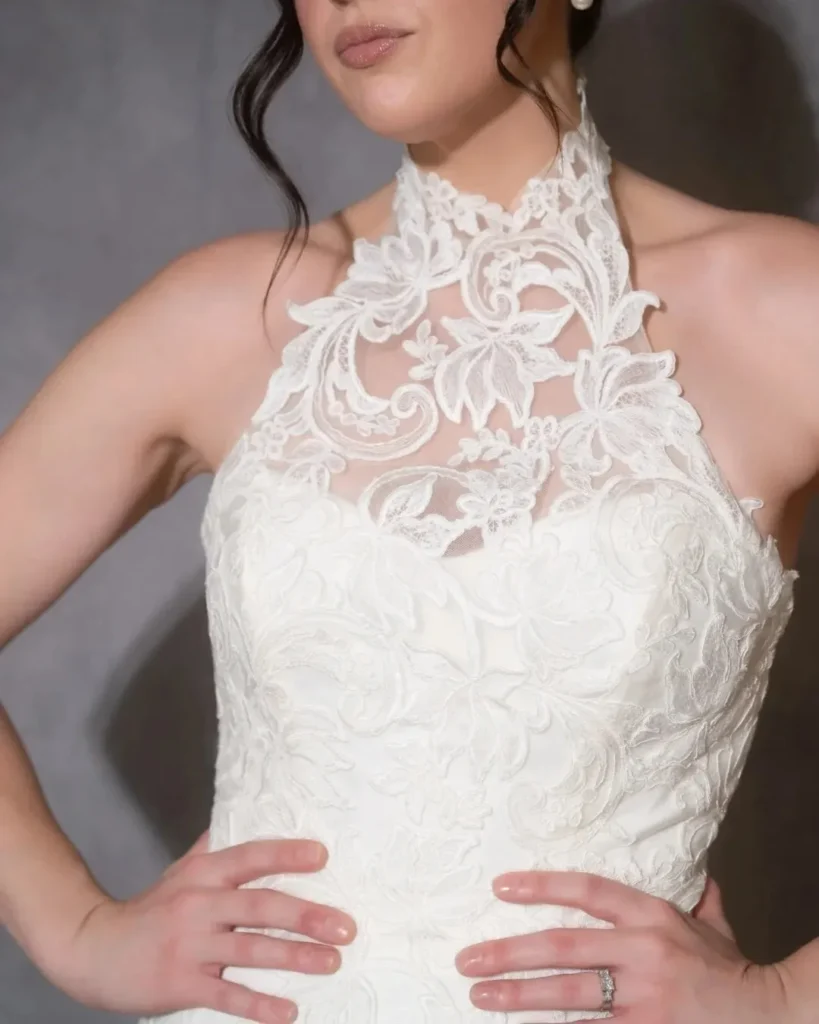
Neckline changes can modernize the look. Minor adjustments include raising or lowering fabric slightly.
Discuss comfort level before altering deeply cut styles.
DIY idea: use fashion tape to test neckline height before sewing.
Small changes create a personalized appearance without replacing the dress.
Remove Excess Layers to Reduce Weight

Heavy layers can feel uncomfortable during long ceremonies.
Removing one or two layers keeps volume while improving mobility.
Affordable tip: inner layers often go unnoticed visually.
DIY approach: test dress comfort during extended wear at home.
Reducing weight improves ease of movement.
Reinforce Seams for Long Wear
Strengthening seams prevents tearing during movement.
Focus on stress areas like hips and bust.
Affordable option: request reinforcement only in high tension areas.
DIY tip: examine seams for loose threads before fittings.
Strong seams protect the dress throughout the event.
Add Hidden Pockets for Convenience
Hidden pockets hold small essentials.
Lip balm or tissues fit easily without affecting appearance.
Ask tailor to place pockets in side seams.
DIY idea: lightweight fabric creates discreet storage.
Convenience improves comfort during the event.
Match Thread Color Perfectly
Thread color affects visual finish.
Even slight mismatches can stand out in photos.
Bring dress fabric sample when possible.
Accurate color blending maintains elegant appearance.
Bring a Trusted Friend to Fittings
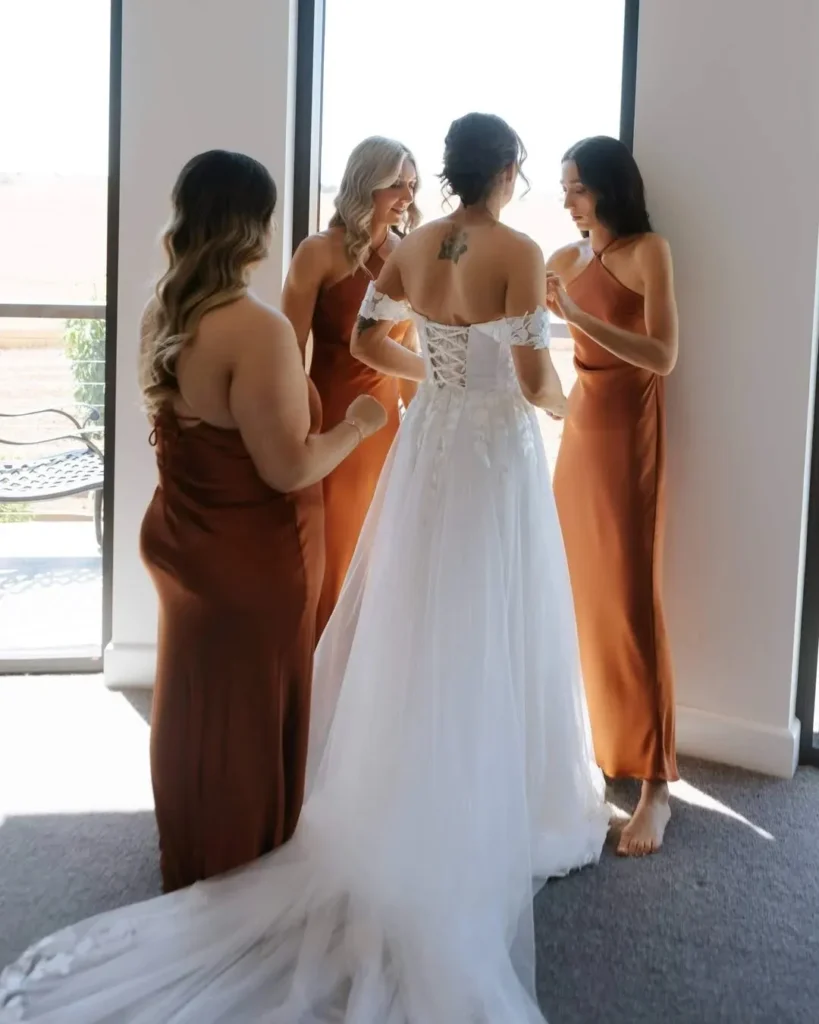
A second opinion helps spot fit issues.
Friends may notice pulling fabric or uneven seams.
Choose someone honest and supportive.
Extra feedback improves decision making.
Test Sitting Comfort During Fittings
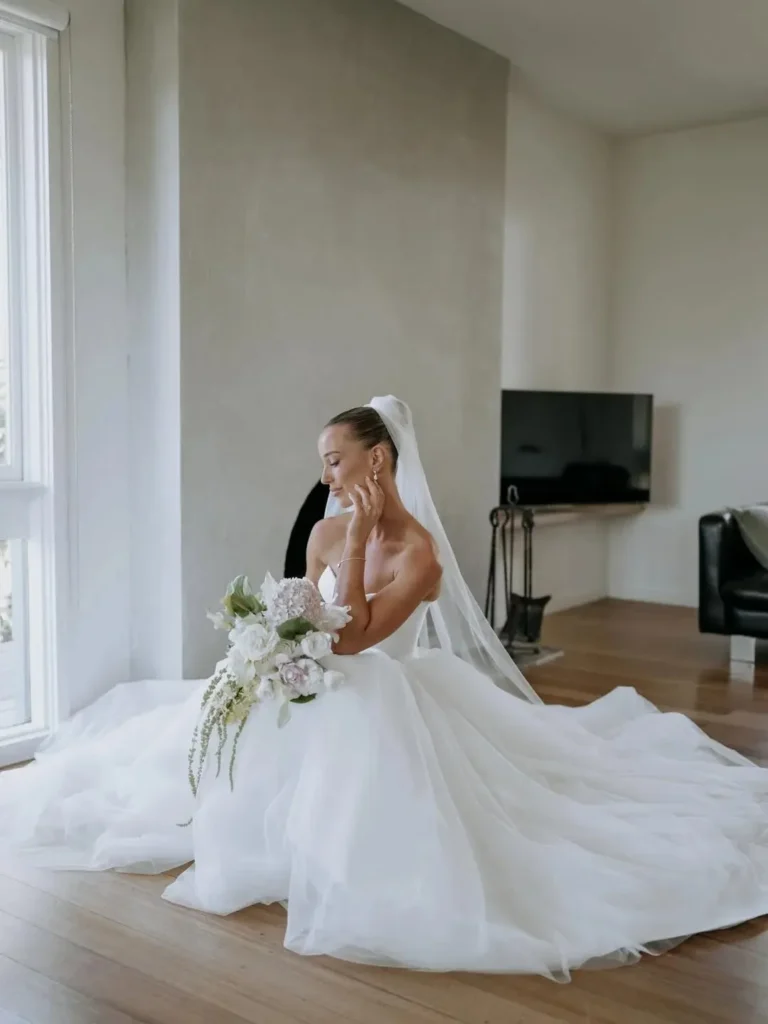
Many dresses feel different when seated.
Test movement during fittings.
Comfort prevents awkward adjustments later.
Practical testing improves wear experience.
Use Temporary Tape Before Permanent Sewing
Temporary tape allows testing design changes.
It helps visualize neckline or hem adjustments.
Affordable tool for planning alterations.
Useful for minor positioning fixes.
Consider Fabric Shrinkage Before Altering
Some fabrics change after cleaning.
Steam or press fabric before final fitting.
Pre-treatment prevents unexpected tightness.
Small preparation prevents costly adjustments.
Keep Alterations Simple for Lower Costs
Simple adjustments reduce tailoring expenses.
Avoid complex structural changes if possible.
Minor shaping often creates elegant results.
Budget friendly decisions help manage overall wedding costs.
Schedule Final Fitting Close to Wedding Date
Final fitting should occur 1–2 weeks before the wedding.
Body measurements may change slightly.
Last adjustments refine comfort and appearance.
Short timeline keeps fit accurate.
Practice Walking Before the Big Day
Practice walking in the altered dress.
Learn how fabric moves.
Test stairs and turns.
Preparation builds confidence.
Conclusion
Wedding dress alterations create a tailored look without exceeding budget limits. Small adjustments often deliver noticeable improvement in comfort and appearance. Planning early, keeping changes simple, and testing movement all help achieve a polished result. Thoughtful preparation allows the dress to reflect personal style while staying practical for a full day of celebration.